Quick start
From a fresh install to a mounted share in four steps.
1. Register an account
The first launch opens the register page. Choose a username and a password and press Register (or Ctrl+Enter).
The account is local to this machine; nothing is sent anywhere. Several people can each have an account on one computer, and each sees only their own drives, settings and history.
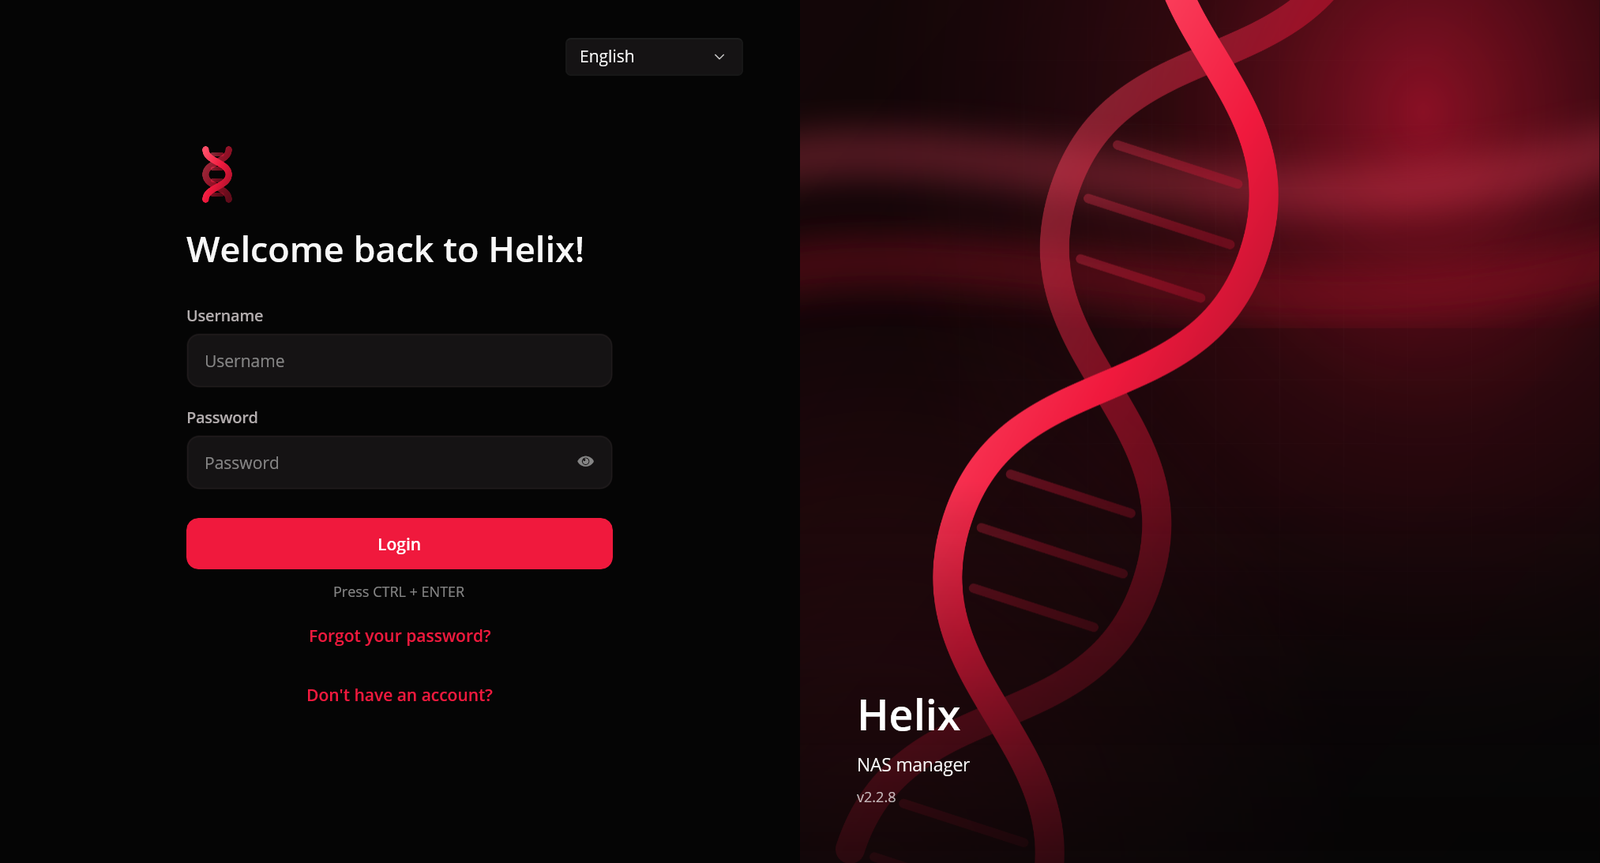
2. Save your recovery key
Right after registering, Helix shows a recovery key: 25 characters in five groups. It is shown once and only its hash is stored.
Write it down or keep it in a password manager. If you forget your password, Forgot your password? on the sign-in page takes your username and this key and lets you choose a new password. Without it, there is no way back into the account.
Typing it is forgiving — case, spaces and missing dashes do not matter, and O, I and L are read as 0, 1 and 1. Using it to reset your password issues a new key, which is shown the same way.
3. Add your first drive
On the dashboard, press Add Drive (or Ctrl+A) and fill in:
| Field | Example |
|---|---|
| Letter | Z — only free letters are offered |
| Drive's name | Photos — the name of the share on the NAS |
| NAS address | 192.168.1.6, nas.local or MYNAS |
| NAS username / password | the account on the NAS |
The drive's name is the share Helix mounts, so Photos on 192.168.1.6 becomes \\192.168.1.6\Photos. On Windows, Browse shares lists what the server offers and fills it in for you. Test connection checks the address, share and password without mounting anything, and Save stores the drive.
Adding drives covers every field and switch.
4. Connect it
The new row shows a grey Disconnected pill. Click it, or select the row and press Enter. The pill turns green, and the drive is now Z: in Explorer (on macOS, a folder under ~/Helix Drives). The folder button on the row opens it.
If it turns red or amber instead, the stethoscope button runs a connection check that says why.
Next
- Turn on Auto connect drives on launch and Set on startup in Settings so your drives are up whenever you sign in.
- Learn the rest of the dashboard.